How to Master Emergency Braking for Off-Road ADV Motorcycles
No matter what type of off-road motorcycle riding you enjoy, the ability to safely stop the bike in an emergency situation is critical to your safety and enjoyment. It is more than simply stopping the bike quickly though. Our goal is to master the emergency stop while also retaining full control of the motorcycle.
The keys to mastering emergency braking for ADV motorcycling are body position, line of vision, and weight distribution. Emergency braking posture requires a rider to be light on the handlebars, shift weight rearward, and keep vision up. A prerequisite to emergency braking is slow-speed braking drills.
This post may contain Affiliate Links. Please see our Privacy & Disclosure Policy for more details.
Emergency braking can be mastered by beginner and experienced riders alike. Here you will learn how to practice the key elements of body position, weight distribution, and controls. By putting in the practice time, you will become a master at emergency braking.

Top-quality gear for your next adventure
Used and recommended by ADVMotoSkillZ
What are the best ways to learn Emergency Braking?
Emergencies and obstacles during an off-road motorcycle adventure are never planned. However, we can practice this series of stopping drills to learn the techniques and to develop the instincts required to safely deal with these potential situations.
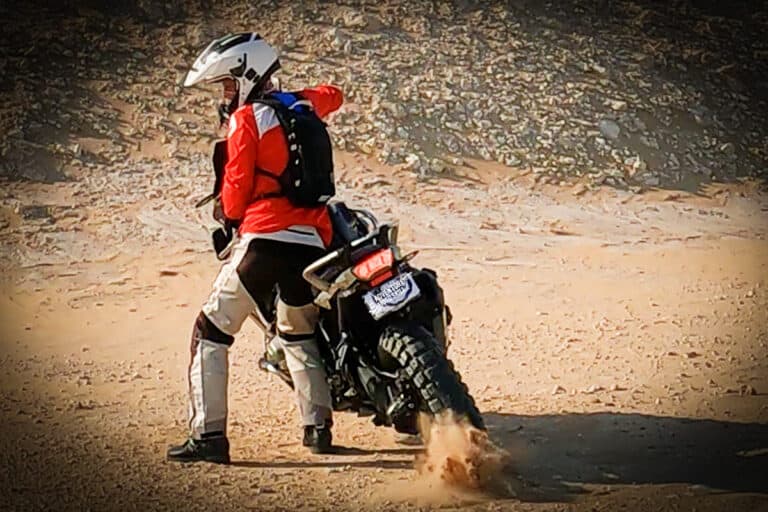
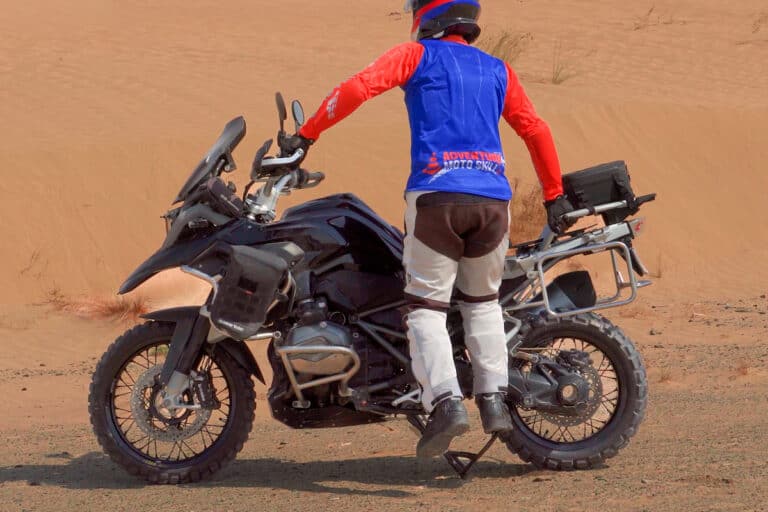
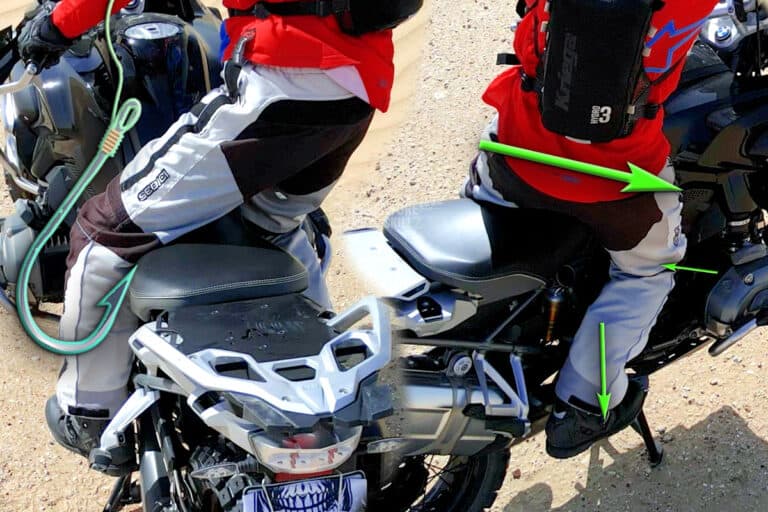
Emergency Braking Body Position Basics:
- Feet firmly placed on the pegs (learn more about Steering With the Feet on our YouTube HERE)
- Knees squeeze the narrowest part of the seat or tank
- Hips shift back to transfer body weight to the rear tire
- Arms are extended full length but keep a slight elbow bend
- Elbows point out wide to 9:00 & 3:00 position
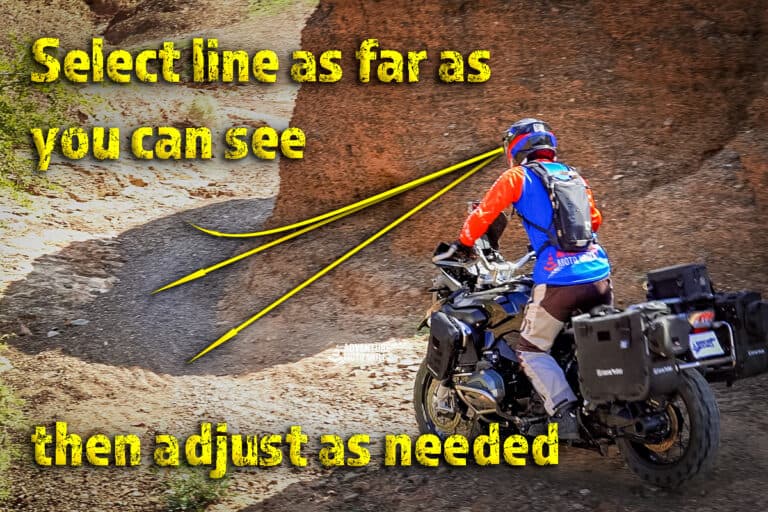
- Head is held high with a line of vision out to the horizon
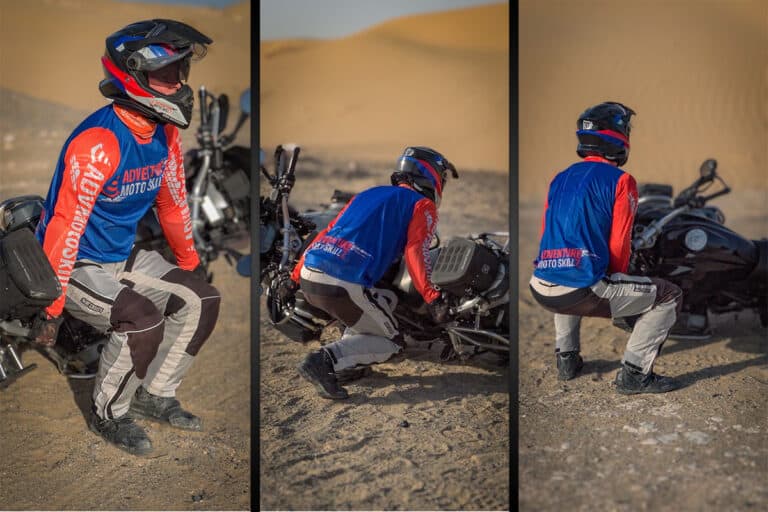
Mistakes to avoid during emergency braking:
- Wide knees will create a disconnection between rider and bike and increase the chance of tips or falls
- Not shifting body weight rearward will create an imbalance of the bike during a fast stop due to the excessive front suspension load created by the front brake
- Don’t have a death grip on the handlebars … yes, emergency stopping can be scary, but the more fluid and light we can be on the front end, the more success we have
- Target fixation is real! Do not look down at your front tire or stare at the hazard blocking your way … if your vision is fixed on it, then you will likely hit it
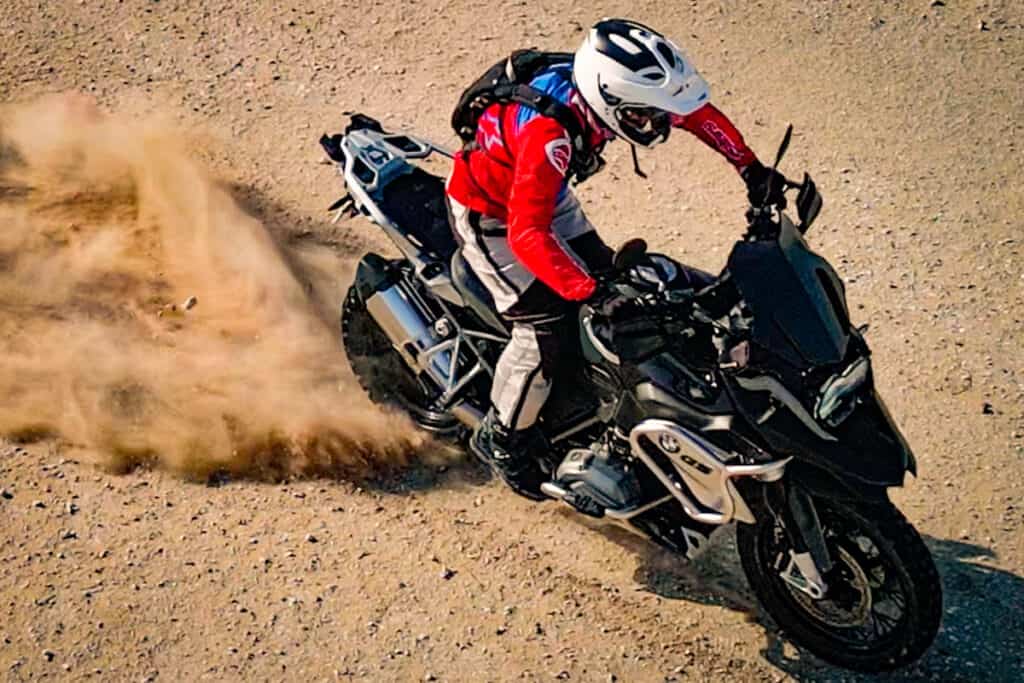
It is critical to first practice these skills with slow-speed stopping before progressing to full-speed emergency braking practice. Emergencies occur at all speeds, but focused practice in 1st & 2nd gear will hone your stopping skills and prepare you for the demands of hard and fast emergency braking. Try this:
Emergency braking practice requires a safe area of hard pack dirt or gravel. When first practicing, use a modest speed of 10KPH/6MPH and slowly increase to 30KPH/19MPH as you gain experience. Traction Control settings should be OFF.
Innovative Motorcycle Tool Sets – Compact & Reliable
Used and recommended by ADVMotoSkillZ
Off-Road ABS and Emergency Braking
ABS (or Anti-locking Braking System) performs exactly as its name implies. ABS is a safety feature to prevent wheel locking and improve braking stability. Depending on your bike’s make, model and year, it may have advanced ABS purpose-built for off-roading.
All of my students are asked to keep ABS ON when first starting emergency braking practice. Activated ABS produces a unique pulsating vibration through the brake pedal (along with a very unsettling noise). If you have never experienced activated ABS, the first time can be quite alarming.
Try out all combinations of front and rear brake applications with ABS on and ABS off.
Suggested Practice Routine:
- ABS ON – Front & Rear Brake together
- ABS ON – Rear Brake only
- ABS ON – Front Brake only
- ABS OFF – Front & Rear Brake together
- ABS OFF – Rear Brake only
- ABS OFF – Front Brake only (Experienced Riders ONLY)
Set out some cones and record your stopping distance during these practice runs. Make notes for yourself on how the bike felt and which settings worked best for you! If you can set up a camera to record your runs, the playback will be invaluable to your learning and progression.
Check out our full emergency braking video here:
Front Brake vs Rear Brake vs Both
The smooth application of the front and rear brake combined will provide a shorter stopping distance in a more controlled manner. Remember that our goal is not simply to stop the bike fast, but to bring the bike to a full stop as quickly as possible while maintaining complete control (no drops of the bike or forward lurching of our bodies over the windscreen).
Factors that impact your braking decisions include the terrain (low or high traction environment), speed, rider experience, skill, and preference.
Front brakes are the power brakes of the motorcycle, due to their significant stopping power. Most modern bikes come stock with a front disc brake controlled by the lever on the right handlebar grip. Applied alone, the front brakes will stop front tire rotation, and induce a forward shift in the motorcycle’s weight leading to front suspension compression and quickly stopping the bike.
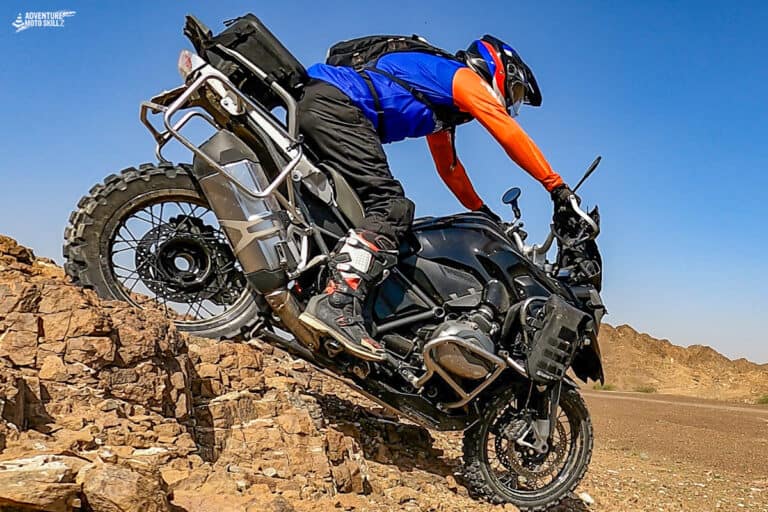
However, the significant stopping power offered by the front brake can disrupt the balance and stability of the bike during slow-speed maneuvers. Overloaded & uncontrolled front suspension can result in a forward thrust of the rider on the bike and a possible “endo” or rider flying over the front of the bike.
The rear brake is controlled through the pedal at the right foot controls and is commonly used in slow-speed riding because it tends to offer a more controlled stopping experience. Rear braking alone is most talked about in trail braking conversations when riders use a diminishing rear brake pressure technique as a tool during cornering.
Emergency braking will be most effective when the power of the front brake is combined with the stability of the rear brake.
My preferred emergency braking technique with front and rear ABS OFF:
Quickly pull the clutch in, grip tank with knees, and transfer hips backward. Stomp down on the rear brake pedal in order to lock up the rear wheel. Simultaneously pull in the front brake lever (this is a smooth pull, not a quick squeeze). If too much front brake is applied, you will feel the front tire start to wash out. Recover from this by releasing the front brake only enough to regain control and then reapply as needed.
ABS ON emergency braking techniques will differ based on bike make and model. Please refer to your rider’s manual for details on your bike’s ABS specs and discuss with your coach.
Downshifting During Emergency Braking
The last piece of this technique is clutch work and shifting gears. As the bike is coming to a stop and your body weight is transferring rearward, be sure to downshift gears so the bike is in first gear at the final stopping point. Finishing an emergency stop in first gear provides you the option to quickly accelerate out if continued dangers are in your area.
PRO TIP: Once the bike has come to a complete stop, remember to get that foot down to the ground!
About the Author
Coach Mike is a Certified Off-Road Motorcycle Instructor & founder of ADVMotoSkillZ.
Riding tips from ADVMotoSkillZ reach thousands of international riders daily through social & blogs.
Click here to learn more about Mike’s motorcycle evolution from a Harley road rider to finding his true passion for off-road riding on a BMW 1200 GS.
If you would like to send Mike a quick message or invite him to provide training at your local facility, then visit the contact page here.