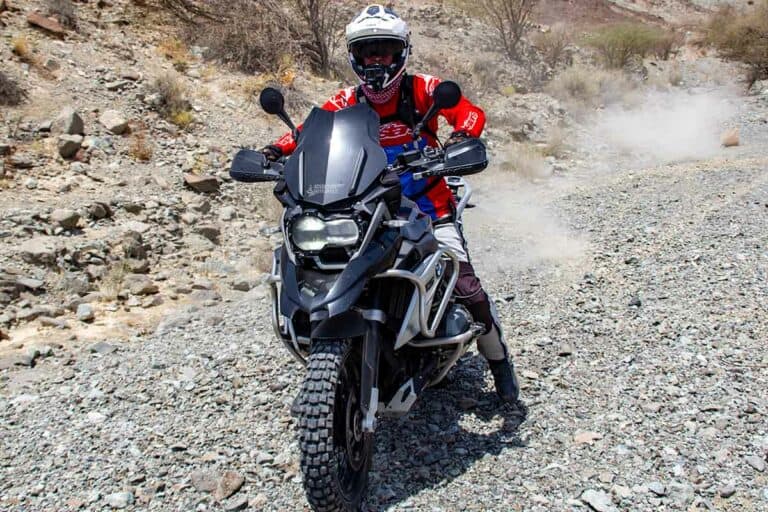
Improving ADV Motorcycle Skills with Small Training Areas
If you’re looking to improve your motorcycle skills, you don’t necessarily need a large training area. In fact, a small training space can still provide everything you need to develop your adventure motorcycle skills, with greater focus and purpose.
All you need is a garage, a driveway, or a small vacant lot to fine-tune your motorcycle know-how. Small space training puts a spotlight on the essential off-road skills that we will need when riding trails or tight single track, namely balance, body position, and throttle control.
When I first started riding technical off-road, many of my tips and falls were at slow speeds. Being new to riding this terrain, the unevenness of the surface seemed to make the bike’s suspension unpredictable; and my attempts to keep balance seemed to further upset the bike’s stability instead of settling it. It was small space and slow-speed training that showed me how to better approach these off-road challenges with confidence and finesse.
Let’s jump into some big ideas for small space training.
This post may contain Affiliate Links. Please see our Privacy & Disclosure Policy for more details.
Improving ADV motorcycle skills at home
At-home ADV motorcycle practice will look a little bit different for each of us depending on our environment. For some, this will mean indoor garage practice during the cold winter months, while for others it is a quick 20-minute training out in the driveway before spending the day with family and friends. So whatever it looks like for you, just know that big bike training drills in the comfort of your own home will pay big dividends on your next off-road ride.
Innovative Motorcycle Tool Sets – Compact & Reliable
Used and recommended by ADVMotoSkillZ
Here are some great drills that you don’t need to leave home for.
Practice with your riding gear ON for safety and to best replicate real-world off-road riding.
The bike may tip or fall during these drills so ensure your bike has protective gear and practice surface is safe for the bike if this happens.
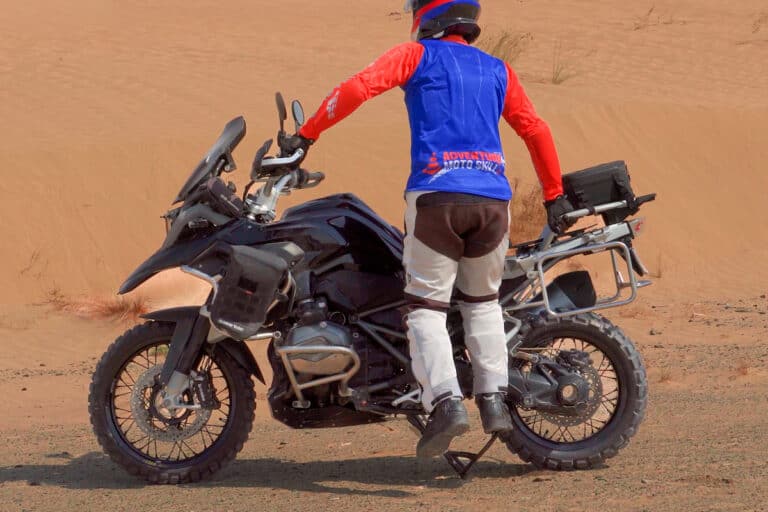
Walk around the bike
Why? Learning how to balance your bike upright as you walk around it will improve your understanding of the bike’s balance point versus its tipping point. This familiarity will translate into increased confidence to tackle more challenging terrain and improved balance on bumpy trails.
Knowing how to support the bike when you are off of it comes in handy out on the trails when you need to dismount the bike in an awkward position. This happened to me just recently out on a rather technical ride with friends. My buddy was in front of me and had a mechanical failure just as we are riding up a steep incline with a sheer rock wall on one side and a serious drop-off on the other side. I needed to stop quickly, dismount the bike, and secure it before going to assist my riding partner. Proficiency in walking around & balancing the bike allowed me to safely manage the situation.
How to practice? Ensure the bike engine is off, stand on the left side, and lift up the side stand. Use both hands to keep the bike upright. Now, slowly walk around the bike in a clockwise direction moving your hands one at a time using the handlebars, the windscreen, and the passenger grab rails.
This is not a race and you should not proceed to the next position until you feel confident. Be sure to react quickly with a firm grip if the bike begins to tip unexpectedly as you move from position to position.
After completing a full circle around the bike, put the kickstand down and give yourself a pat on the back. You have begun to develop the muscle memory needed for quickly re-establishing the bike’s balance.
Center stand practice
Why? Practicing body position with the bike on the center stand provides an opportunity to focus all of your energy on yourself, without worrying about the bike falling. With the motorcycle securely on the center stand, you can drill the correct postures needed to weight the pegs and counterbalance the bike efficiently.
Center stand practice develops muscle memory that allows for quicker reflexes out on the trails when the unexpected occurs. This can happen when you are riding along and the bike suddenly is pushed offline because a rock or root has knocked the front tire.
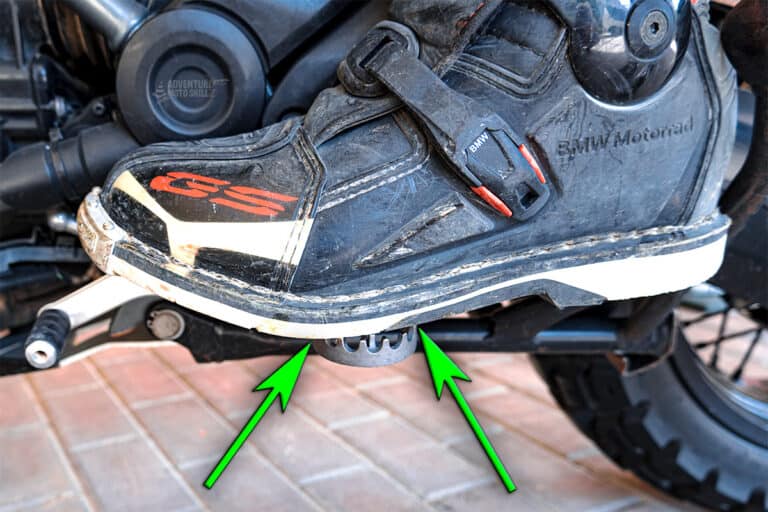
How to practice? Place your bike on its center stand on firm, supportive ground. Mount the bike and place your feet on the pegs with a contact point between mid-arch and ball of the foot. Now stand up with both hands on the handlebars (if this is your first time standing on the pegs, then take your time progressing).
From this standing position, see what it feels like to let go of the left handlebar, or to lift one leg off of a peg. Practice transitioning your weight and use the 3 remaining contact points with the bike to keep your body balanced. Practice different riding positions such as standing and seated full lock turns, standing hips back position, and standing attack position.
Get in some repetitions moving from a full lock left handlebar position to right and back again. If you notice any physical limitations in these movement patterns that are preventing you from transitioning into the correct positions, then take note of these and plan your off-road riding within your abilities.
If needed, work with fitness or health care professional for a stretching program to improve your mobility to reach those positions best needed for handling your bike on off-road terrain.
Seated balance
Why? Riding a motorcycle off-road on rocky or unstable terrain requires a more dynamic approach to seated riding than does on-road riding. Adventure trails often cause the front tire to get bounced around and the suspension to dip and rebound. The more confident you are in balancing the bike, the better you will be able to negotiate the more unpredictable surfaces off-road.
How to practice? Sit on the motorcycle with the engine off and lift the side stand. With your right foot on the right peg, go ahead and quickly bring the left foot up to the left peg. You and the bike are now only on 2 wheels and you will try to balance here for as long as possible before putting one foot down. Feel the balance point of the bike and keep trying for a longer balance time with each attempt. This is harder than it looks, so be patient with yourself.
Standing balance
Why? Standing and off-road adventure riding go hand-in-hand. Standing allows us the ability to see further in the distance to identify the best line to ride and to see potential hazards to avoid. This skill will also come into play later when we review slow riding practice.
Standing allows us to use our legs as secondary shock absorbers to help keep the suspension settled and thereby keeping the bike online. When standing, you have a significantly greater number of body position options to explore and learn (like those suggested in the center stand practice above.)
How to practice? Mount the motorcycle with the engine off and lift the side stand. With your right foot on the right peg, go ahead and simultaneously stand and bring the left foot up to the left peg. You and the bike are now only on 2 wheels and you will try to balance here for as long as possible before putting one foot down. Feel the balance point of the bike and keep trying for a longer balance time with each attempt. This is much harder than it looks, but a great skill to improve at home before hitting the trails.
BONUS IDEA – Spend time at home getting to know your bike better by fine-tuning the ergonomic setup, inspecting levers and cables, cleaning the air filter, and practicing how to deflate and inflate tires.

Top-quality gear for your next adventure
Used and recommended by ADVMotoSkillZ
Improving ADV motorcycle skills in small backyards or dirt lots
You will be amazed at the potential training that a small backyard or vacant dirt lot can offer an ADV motorcycle rider. Here will assume a training space of about 30′ or 10m square, although many of these drills don’t even need that much space. Feel free to scale up or scale down these drills based on your unique area shape and size.
Walk the bike –
Why? Firstly, walking alongside a bike on a flat off-road surface serves as an excellent rehearsal for when you need to walk the bike on rough off-road terrain. This scenario can happen in the event of bike mechanical failure, injury to you as the rider, or getting into technical terrain a bit above your current riding skill level. Secondly, practicing walking the bike using only the clutch to power the engine will really fine-tune your friction zone skills, which impacts almost every aspect of off-road riding.
How to practice? Start at the far end of your training space and stand on the left side of your bike. Start up the engine with the clutch lever fully pulled in and one or two fingers covering the front brake. Shift the bike from neutral into first gear and very slowly open the clutch. Do not apply any throttle, but instead, allow the bike to roll forward.
You are controlling how fast the bike rolls by the amount of clutch release you provide. Walk alongside the bike as it rolls slowly forward for the length of your training area. Depending on the side of your area, you can practice walking the bike backward or try a turnaround technique.
If the bike begins to move too quickly, pull the clutch in fully to cut power and/or engage the front brake and always keep your right hip close to the bike for support as needed.
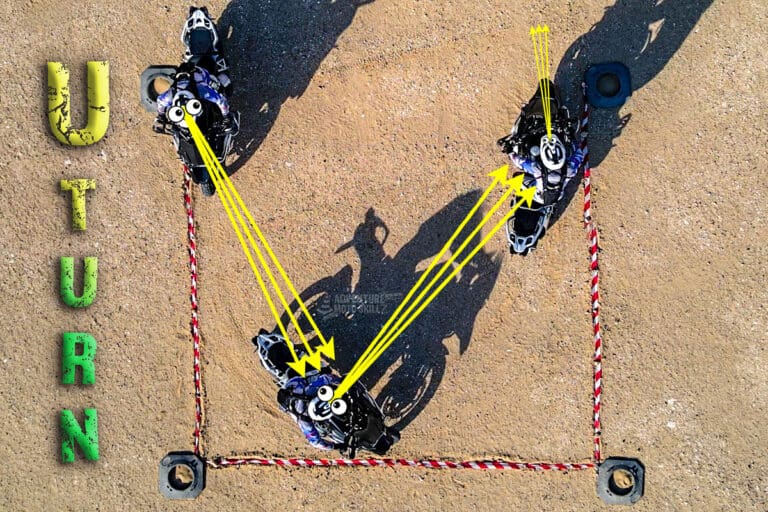
Practice tight cornering
Why? When training in large open areas, it is difficult to reign in focus on compact riding skills. Small training areas create a great excuse to do this and practice tight cornering. The limitations that your small area provides mimic the close quarters of single-track riding or winding trails.
How to practice? Grab 3 small cones, half-filled water bottles, or halved tennis balls and place them in a triangle formation. Aim for no less than 3 bike lengths in between cones. Now start riding the course by circling each cone, one by one. If your space only allows for 2 cones, then this will look like figure 8 practice.
Aim for 1,200 – 1,800 RPM
Be sure to also check out our post reviewing 5 Tips to improve your figure 8’s and u-turns right here.
Vision & Body Position
Why? Small area training requires greater visual focus because there is less room for error. Body movements must be deliberate and efficient to successfully negotiate the demands of the cramped real estate. This level of laser-focus will improve your skills much faster than large area training alone.
How to practice? Use the same cone set up as above to practice turning your line of vision, your head, and your shoulders to face the direction that you are turning in. Stay light on the front end of the bike by squeezing the bike with your knees and lower legs while counterbalancing to the outside of the turn.
Use the body positions that had been practiced at home in the center stand drills above.
Slow ride practice
Why? It is not uncommon to have a long stretch of off-road riding without ever getting out of 1st or 2nd gear. Slow-speed riding is fundamental to riding rocks, tree roots, or performing water crossings. Approaching a technical section slowly will allow for more time to look for the best line to ride. If you want to take a shot at technical off-road terrain, then this is a critical skill to learn and a small area is a great place to do it.
How to practice? Establish a start and stop line, about 2 or 3 bike lengths apart, in your training area using cones or other markers. Ride up to the start line in 1st gear only. The goal is to ride as slowly as possible from the start line to the finish line. Practice feathering the clutch in and out to deliver just enough power to the rear wheel to keep the bike moving forward. Another technique to try is to ride with just enough pressure on the rear brake so that the pads are barely engaging the brake rotors. Keep the throttle steady and let the engine pull the rear wheel.
Try your slow speed skills in both seated and standing riding postures.
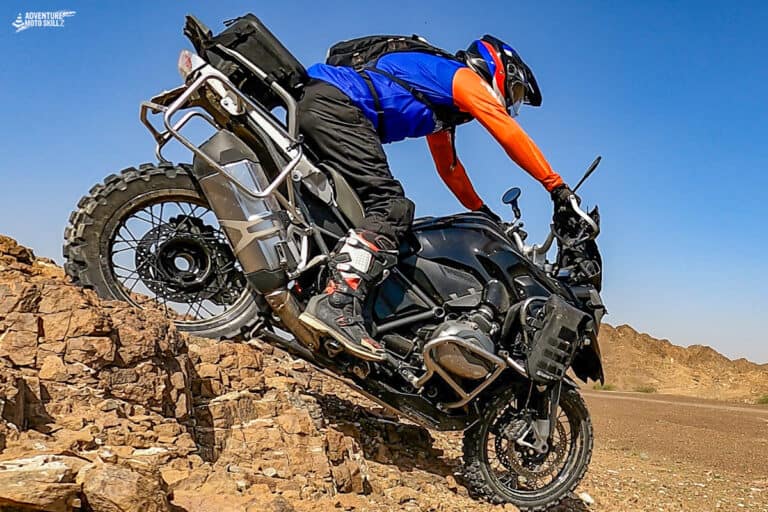
Small obstacle riding
Why? Expect the unexpected when riding off-road! Rocks, roots, debris, the occasional animal carcass, and the list goes on of items that may present themselves in your path. Depending on your speed and the riding environment, it may be safer to ride over the obstacle versus riding around it. Rolling a big adventure bike over an obstacle for the first time may be a bit unsettling, making it another great small training space drill.
How to practice? Forage your training area for natural obstacles or bring in simple items such as a wooden plank or narrow beam pole. The flatter the object, the easier it is to ride on or over so be honest with your choices to be sure they match your current experience and skills. Larger obstacles will require the ability to lift the front end to avoid hitting it straight on (and possibly damaging your front wheel)… but, that is a topic for another day.
ADV Motorcycle Training Exercises for Small Spaces
Watch the full Small Spaces training video:
About the Author
Coach Mike is a Certified Off-Road Motorcycle Instructor & founder of ADVMotoSkillZ.
Riding tips from ADVMotoSkillZ reach thousands of international riders daily through social & blogs.
Click here to learn more about Mike’s motorcycle evolution from a Harley road rider to finding his true passion for off-road riding on a BMW 1200 GS.
If you would like to send Mike a quick message or invite him to provide training at your local facility, then visit the contact page here.