Motorcycle Ergonomics for Off-Road Riding – ADV Bike Fitting Tips
Off-Road motorcycling requires riders to be more dynamically active than casual on-road riding. Riders are constantly changing body positions from seated to standing, and they are transferring weight from left to right and front to back. However, most ADV bikes come off the factory floor set up for on-road riding. So how can the bike be adjusted to meet our off-road demands?
Proper off-road riding motorcycle ergonomics require adjustments to some or all of the following:
- Foot pegs
- Shift lever
- Rear brake pedal
- Handlebars
- Clutch lever position
- Front brake lever position
- Clutch and brake lever engagement point
- Throttle
- Drop the preload (for short riders)
- Install handlebar risers (for tall riders)
- After-market seats
The ever-changing body positioning required when riding off-road can be performed more comfortably with a properly fitted machine beneath us. Taking the time to match your bike’s controls to your body size and personal preferences will help improve your riding comfort, safety, and off-road capabilities. Let’s see how to do it.
Note: always reference the owner’s manual from your manufacturer for adjusting instructions specific to your bike
This post may contain Affiliate Links. Please see our Privacy & Disclosure Policy for more details.
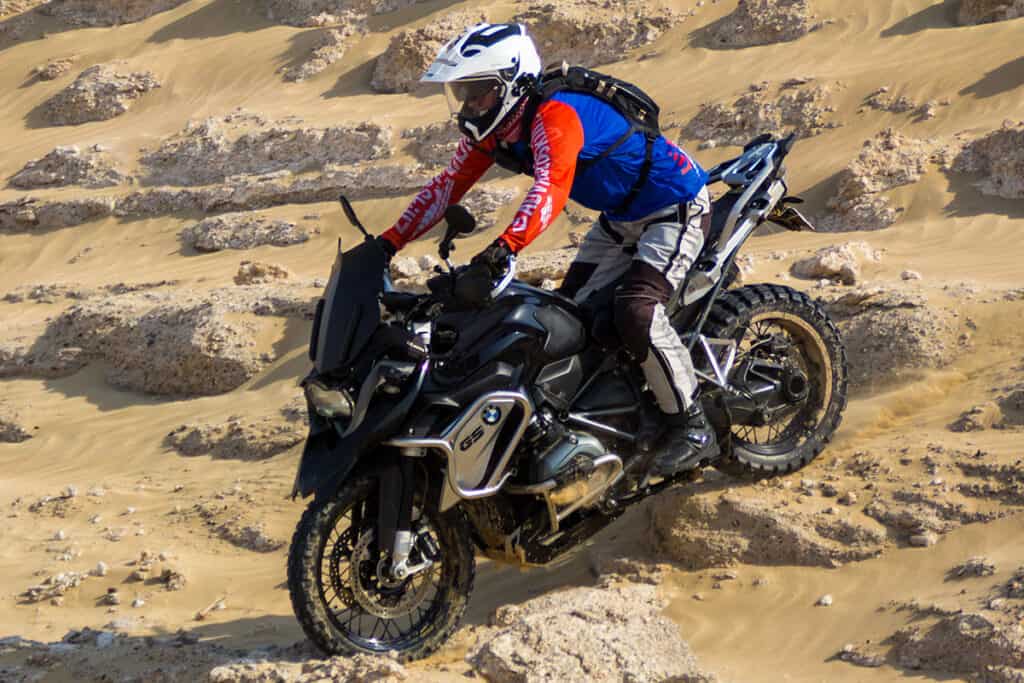
Proper set up of pegs, shift lever & brake pedal for off-road
Off-road riding boots tend to be bigger and thicker than on-road boots or shoes. For this reason, we may need to create a bit more space under the shift lever to allow our toe to slide under on the fly. Be cautious not to raise it too high, creating an uncomfortable downshift foot position.
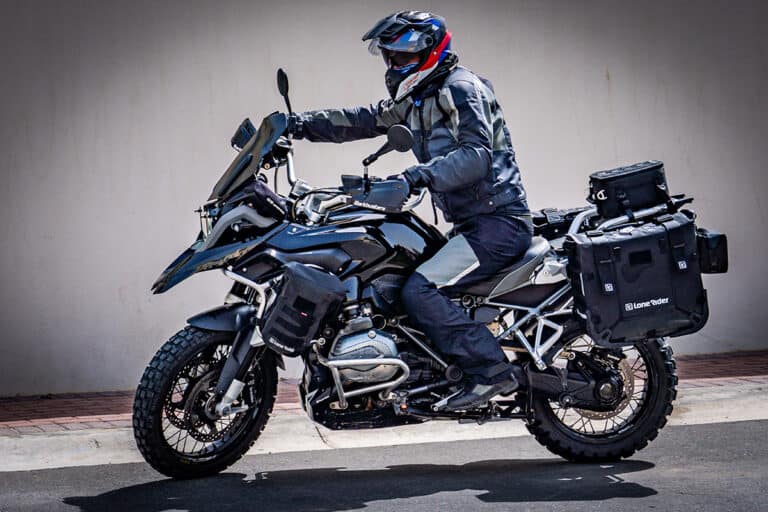
Here we demonstrate how to adjust a BMW 1200GS shift lever to find a comfortable fit. Follow your manufacturer’s instructions to adjust yours to the angle most comfortable for you. Remember to test out the new angle from both the seated and standing positions with your off-road riding boots on.
The ideal off-road position for the rear brake pedal is either level with or slightly elevated compared to the peg height. Having the pedal slightly higher than typical on-road orientation will improve comfort during standing braking when your heel will be lower than your toes. If your bike allows for adjustments to the brake lever, then go ahead and make those changes. Otherwise, check out aftermarket brake pedals or make a DIY riser similar to this:

Adjusting handlebars for standing ADV riding
Handlebars will need to be rotated to that sweet spot position that provides a comfortable ride for both seated and standing postures. You know you have found the best position for YOU when your shoulders can remain relaxed and your wrists are comfortable.
Find the 4 bolts holding your handlebars in place and loosen them only enough to allow the bars to rotate. Twist the handlebars up, so the grips elevate skyward and are in a position that feels like a natural spot to reach when standing. Double-check your upper body comfort in both seated and standing positions before re-tightening the 4 bolts.
BMW recommends bolts be tightened to 19Nm/14ft-lb for the factory settings. Be sure not to over-tighten the bolts or you may crush the handlebar tubing if you have installed bar risers. Check your manufacturer’s recommendations for your specific bike settings.
Rotating the clutch & front brake controls for comfort
After positioning the handlebars, we will need to ensure the location of the clutch lever and front brake lever are also in a comfortable position. These levers can be easily rotated to your preferred location.
Loosen the pinch bolt (or similar for your bike) holding the controls in place just enough to allow for rotation. From a seated and standing position, wrap your hand around the grips and extend all 4 fingers straight out. Find the position that allows maximum comfort in your wrists from both riding postures. These optimal lever positions will vary from person to person.
My riding style includes frequent transfers of body weight over the rear tire into a standing “attack” position. For this reason, rotating the levers upward makes them easier to reach from this stance. Experiment to find the best location for you based on your riding style.

Top-quality gear for your next adventure
Used and recommended by ADVMotoSkillZ
Refine the clutch and front brake lever tension and engagement points
The recommended handgrip position for off-road riding places your index finger and middle finger covering the levers (clutch and front brake) with the 3rd and 4th fingers wrapped around the grip. Alternatively, many riders prefer to use just the index finger covering the levers which is also acceptable. These grips styles allow for quick engagement of either the clutch or brake and provide a firm grip on the handlebar.
Small adjustments can often be made to the clutch and brake lever to regulate the distance they sit from the grip. This allows for riders with all hand sizes & grip strength to refine the lever location setting to best suit them. Try out settings 1 through 4 to find what works for you.
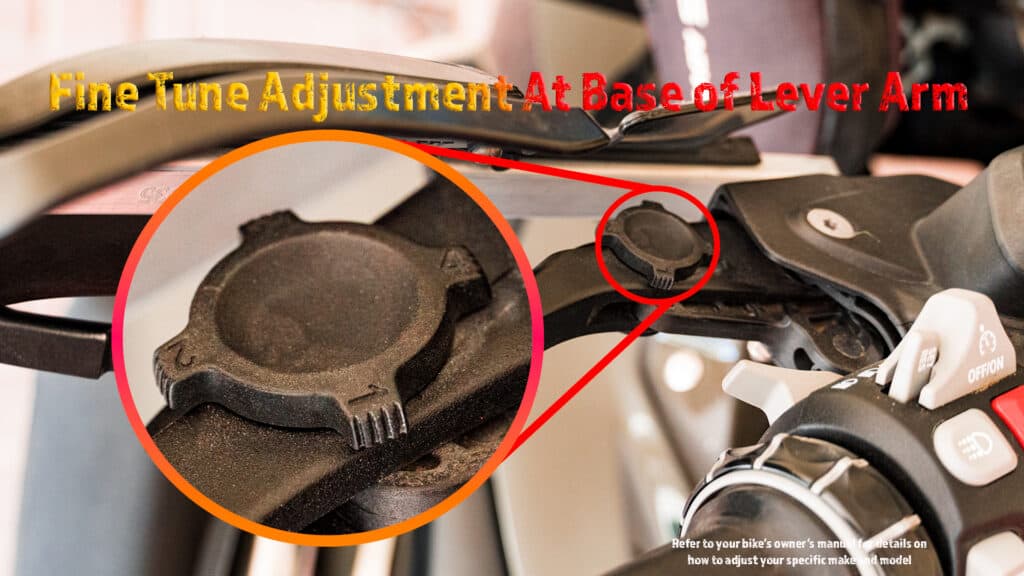
If your bike allows for further adjustment of the engagement point of clutch and front brake levers, then follow the owner’s manual instructions to perform this if needed.
The clutch lever can therefore be set so that its point of full engagement (a completely closed clutch) is the point when the clutch lever just touches the front of your 3rd and 4th fingers wrapped around the grip (with riding gloves on). Without this adjustment, the clutch lever will need to be pulled in to touch the grip to be considered fully disengaged. Upon release of the clutch lever, there should be a prompt delivery of power to your engine (minimal “play” in the lever movement).
Likewise, the front brake lever can also be set so that the brake is fully engaged when the lever touches the fingers on the grip on certain bike models. Ensure the tension is set so that you can fully squeeze the brake with only 2 fingers.
Innovative Motorcycle Tool Sets – Compact & Reliable
Used and recommended by ADVMotoSkillZ
Dialing in throttle freeplay for off-road adventures
Throttle freeplay is the amount of rotation or twist that the throttle moves in without any fuel being delivered to the engine. ADV riders benefit from having the throttle as responsive as possible to perform successfully in the constantly changing off-road environment. This means we want the least amount of freeplay possible.
Most modern ADV motorcycles will already have minimal freeplay on the throttle and require no adjustments with their throttle-by-wire system. Older model bikes may be throttle-by-cable and require infrequent adjustments. Check your manufacturer’s owner manual to see the options for your bike.
Here is an example of what minimal throttle freeplay looks like:
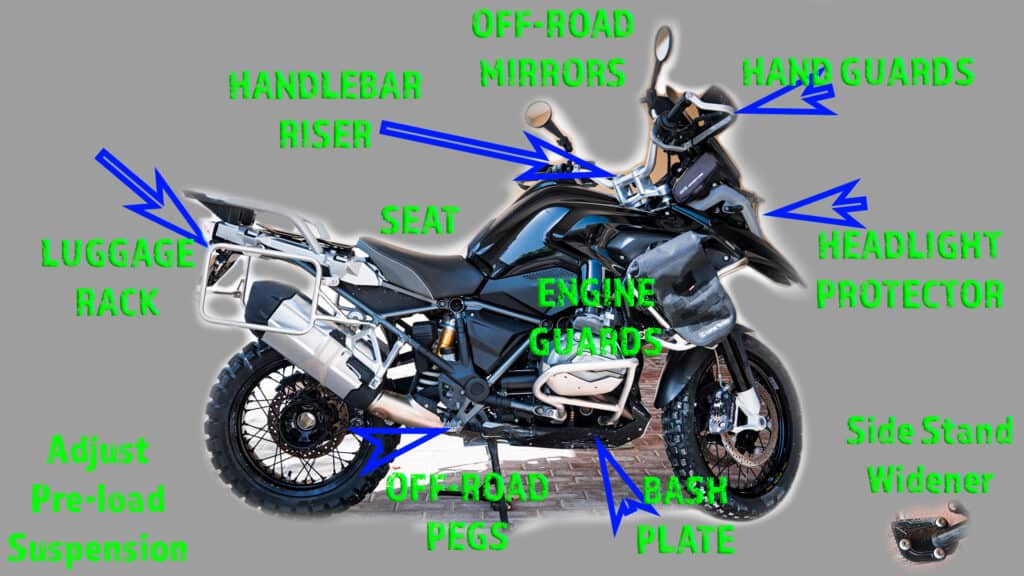
Customising your ADV motorcycle with after-market gear
As you gain more experience riding off-road, you may decide to customise certain aspects of your bike to better meet your needs. Personalising your bike can offer ergonomic improvement or provide added protection for the motorcycle.
Here are a few common choices:
PRO TIP
If you want to test out a few different locations for your levers, then insert a small piece of plastic cable tie behind the housing and tighten the bolts firmly. This strip of plastic will allow you to make positional adjustments without having to undo the bolts. When you find the best spot, remove the plastic cable tie and fully tighten the bolts.
About the Author
Coach Mike is a Certified Off-Road Motorcycle Instructor & founder of ADVMotoSkillZ.
Riding tips from ADVMotoSkillZ reach thousands of international riders daily through social & blogs.
Click here to learn more about Mike’s motorcycle evolution from a Harley road rider to finding his true passion for off-road riding on a BMW 1200 GS.
If you would like to send Mike a quick message or invite him to provide training at your local facility, then visit the contact page here.
