Checking and Choosing Your ADV Motorcycle Tire Pressure
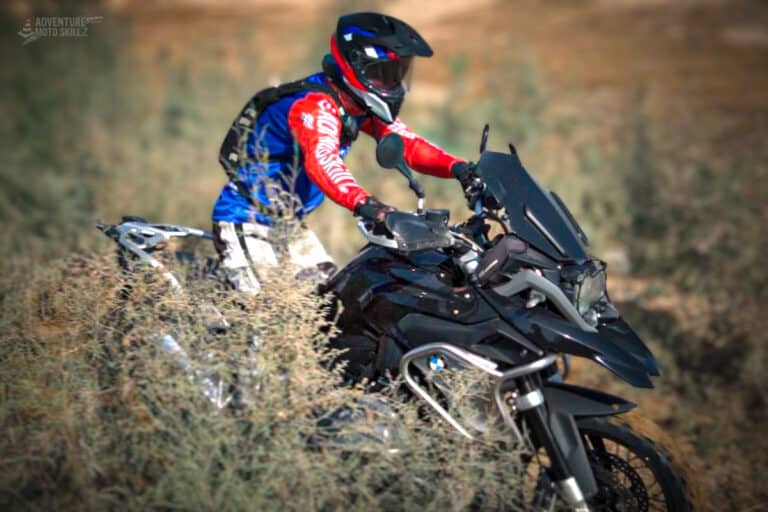
Motorcycle tires provide traction and handling during off-road riding. When touring, they also affect fuel economy and loading-bearing capabilities. Simply stated, the wrong air pressure can impact many aspects of your ride in ways you may or may not want.
Check and adjust the tire pressure on your motorcycle before every ride. Measure the air pressure with an analog or digital gauge on cold tires. Set the pressure according to manufacturer recommendations, terrain, and payload.
Tire pressure is one of the most debated topics among ADV motorcycle riders. But this does not need to be the case. If we understand the tire a bit better, we can enjoy the process of testing different pressures. We can learn how to get it right with a little educated experimentation.
This post may contain Affiliate Links. Please see our Privacy & Disclosure Policy for more details.
Innovative Motorcycle Tool Sets – Compact & Reliable
Used and recommended by ADVMotoSkillZ
Getting the most accurate tire pressure reading on my motorcycle
Accuracy and consistency are important when measuring tire pressure. The gauge must be accurate, and your methods must be consistent. Let’s review both:
Having an accurate tire pressure gauge
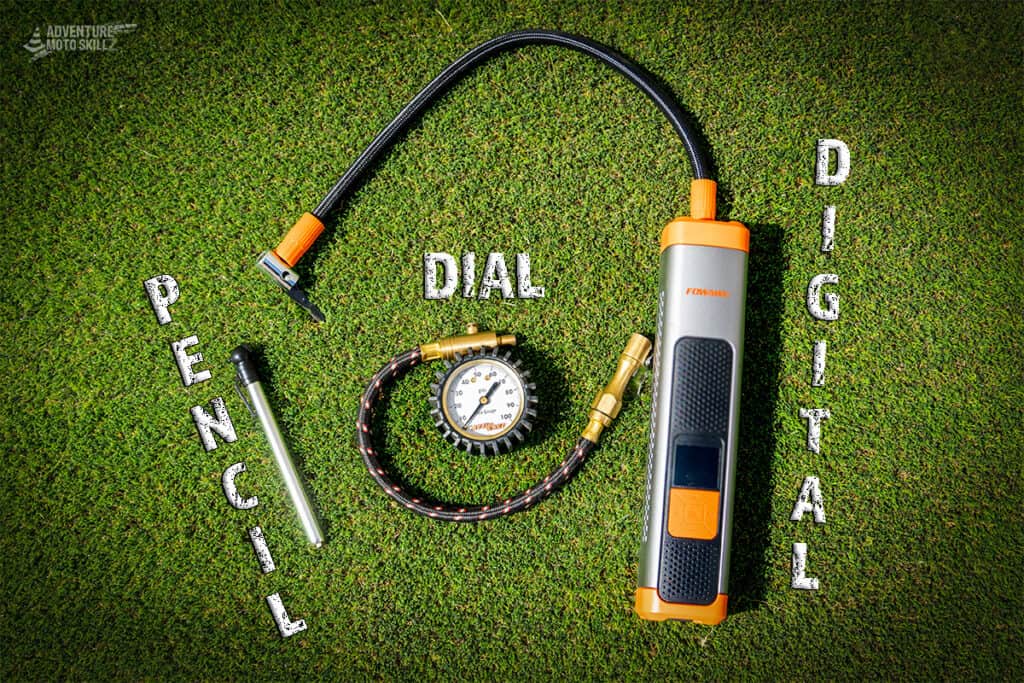
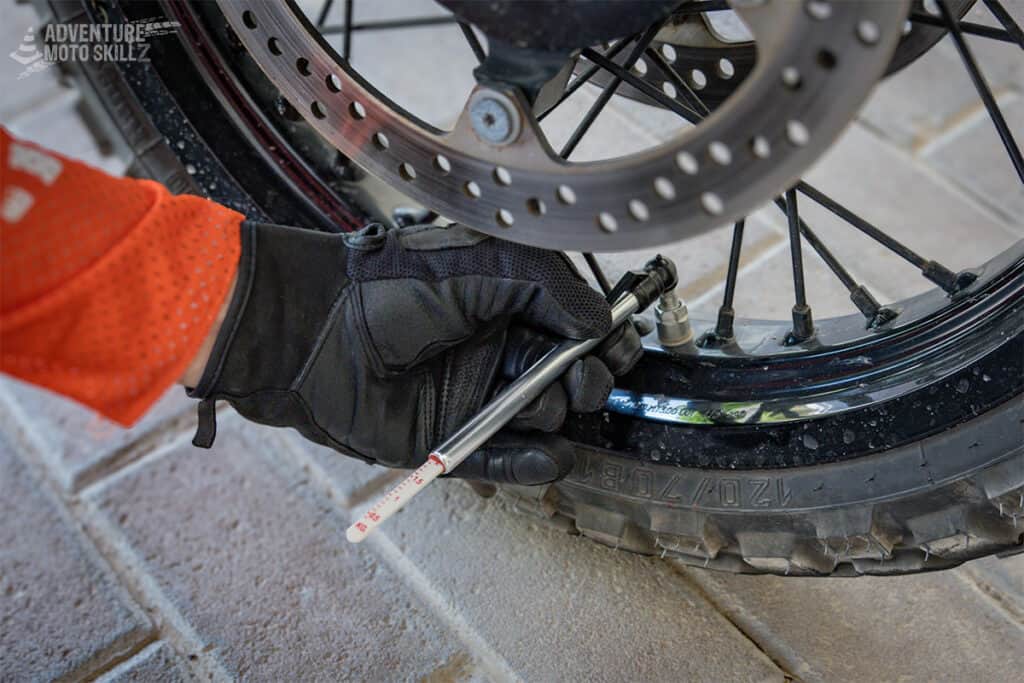
Pencil tire pressure gauges are manual tools for measuring air pressure. They are the size and shape of a pencil with an internal piston. When the nozzle end compresses the tire valve, the air pressure pushes out a measuring stick. The user then reads the retractable rod to learn the tire pressure. Pencil tire gauges are inexpensive, easy to use, and require no power. Their accuracy relies upon the user’s technique and ability to read the measuring stick.
Analog dial gauges have a circular dial with numbers on the face and a needle. The needle moves without a power source to display the pressure reading detected. Analog gauges are more expensive than pencil gauges, but their larger display makes reading the numbers much more manageable. One potential drawback to an analog gauge is that their small gears may make them susceptible to damage and malfunction, especially when bouncing around in a bag on your bike.
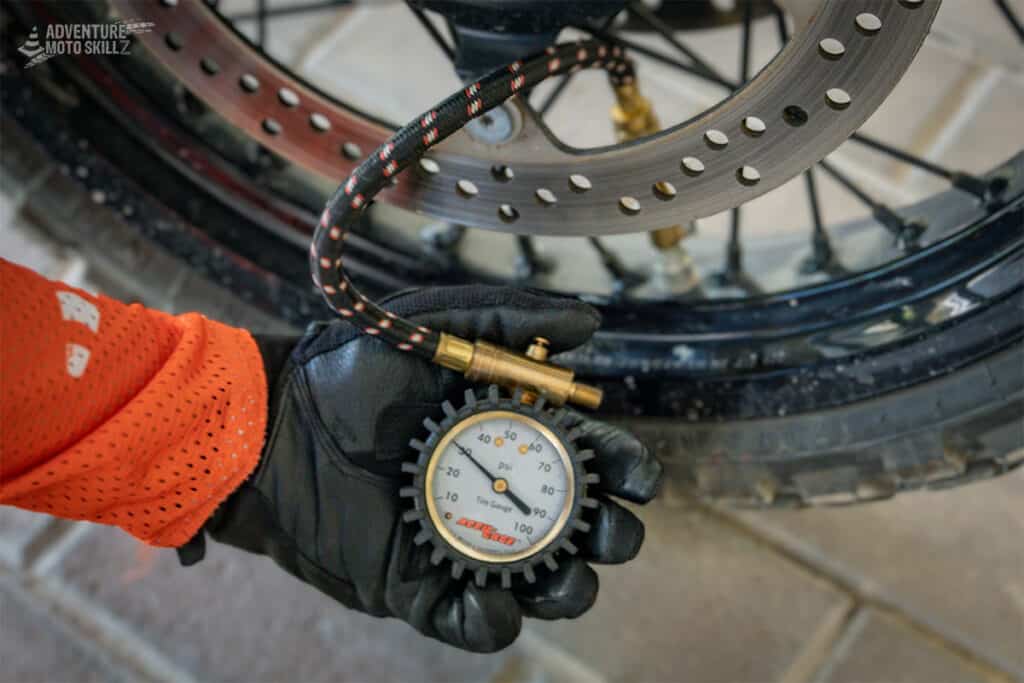
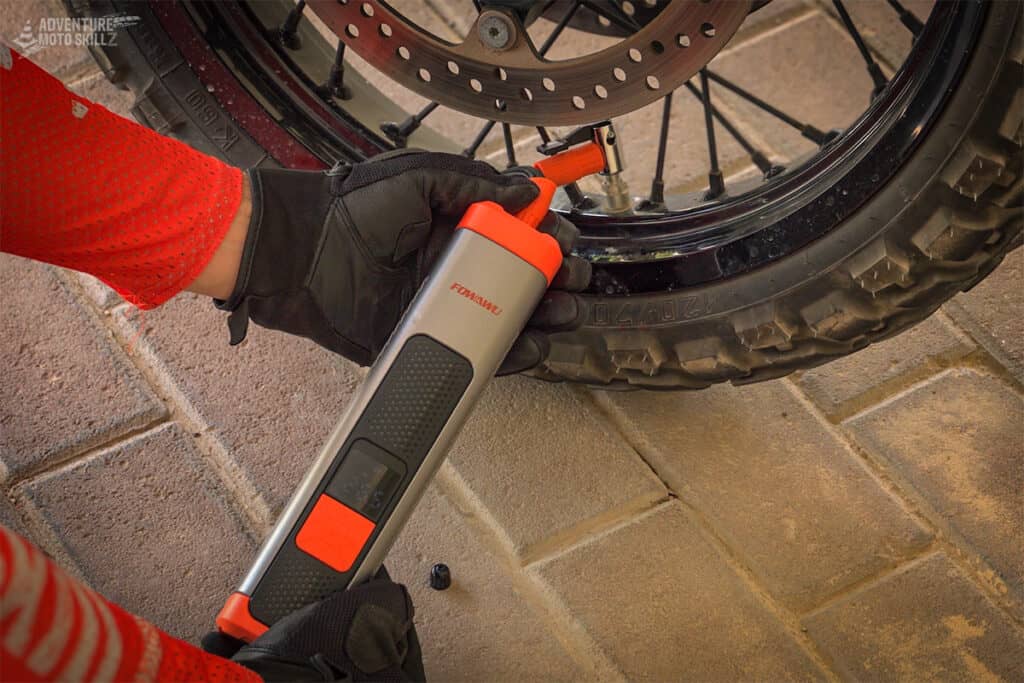
Digital pressure gauges use pressure sensors to convert air pressure into a reading. Readings display on these gauges within seconds. Digital meters are durable and easy to read with customizable features. This technology will cost more than the analog versions but provides superior accuracy. Note that digital gauges will need a power source to work.
Consistency is key when reading tire pressure
- always measure tire pressure on cold tires
- do not compare cold and warm tire pressure readings as equal (they are not)
- choose psi, bar, or kpa as your unit of measurement and stick with it; these units are not interchangeable
- try to have the bike on a level surface to measure air pressure
- do not compare readings from different makes or models of tires
- do not compare readings from different makes or models of motorcycle
How to check motorcycle tire pressure: step-by-step
- Locate the tire valve stem and remove the cap (secure the cap so it is not lost)
- Place the nozzle of your gauge flat on the end of the valve stem
- Press the gauge nozzle firmly onto the valve stem until you hear no air leakage and keep it there for a full second
- Remove the nozzle and read the pressure reading display
Watch how to check your motorcycle tire pressure here:

Top-quality gear for your next adventure
Used and recommended by ADVMotoSkillZ
Choosing the correct motorcycle tire pressure
To decide on the best tire pressure for any given ride, consider the following:
- Read the greatest allowable tire pressure on the tire sidewall. Note that this is not the recommended value but the maximum air pressure the tire can safely accept. Inflating over this value puts you, your passenger, and your bike at risk.
- Read the recommendations in your motorcycle’s owner’s manual. There will be tire pressure reading recommendations for the front and rear tires. These values will likely be noted as “cold” and apply to on-road bike usage.
- Check your tire manufacturer’s website for additional charts or recommendations for off-road riding. All motorcycle tires differ in the rubber composition, sidewall thickness, and construction designs.
- Consider the terrain you will be riding on. Off-road terrain offers different resistance than asphalt. This is why off-road riding requires airing down. Dirt is softer than tar; sand is softer than dirt, etc.
- Typically, the softer the riding surface, the lower the tire pressure allowable in order to increase the contact patch size that will help enable the bike to keep moving.
- The payload for the trip has a direct impact on tire pressure. The more weight you place on the bike, the higher the air pressure will need to be.
- Outside air temperature will influence the tire air pressure reading. Colder temperatures lower psi, while hotter temperatures raise psi. For every 10°F of increased temperature, tires can increase by 1-2 pounds of pressure.
- Personal preference is the final consideration in setting your tire pressure. After ensuring a safe range (through the steps above) the final decision comes down to you.
How to deflate your motorcycle tires: step-by-step
You will probably need to deflate your tires before an off-road ride. This is a quick and easy process:
- Check your current air pressure to know your start point
- Confirm the target value that you wish to air down to
- Depress the metal pin in the center of the valve to release air from the tire
- Press the pin down in small bursts to release puffs of air
- Use the tire gauge to retest the pressure value
- Repeat this process until the target value is reached
- Put valve cap back on securely
Alternatively, use a portable handheld gauge to deflate and show the current tire pressure simultaneously.
Watch how to deflate your motorcycle tires here:
How to inflate your motorcycle tires: step-by-step
After your off-road ride is complete, reinflate the tires to on-road settings. This requires an air pump or source of compressed air.
Options for inflating tires include an air pump at a service station, a bicycle pump, a foot pump, an electric pump, or a hand-held portable compressor. Regardless of the pump style, all will have a nozzle on the end that resembles the nozzle of your gauge. The nozzle of the pump delivers the air back into the tire.
To reinflate your tires:
- Confirm the target value that you wish to air up to
- Locate the tire valve stem and remove the cap (secure the cap so it is not lost)
- Place the nozzle of the pump flat on the end of the valve stem
- Press the pump nozzle firmly onto the valve stem until you hear no air leakage and keep it there for a 2-3 seconds
- Remove the nozzle
- Use the tire gauge to retest the pressure value
- Repeat this process until the target value is reached
- Put valve cap back on securely
Watch how to inflate your motorcycle tires here:
High versus low tire pressure for your ADV bike off-road
Running a higher or lower air pressure in your tires will dictate the tire’s contact patch size. The contact patch size will influence the amount of traction available during the ride. And the more traction you have, the more potential control you have of your bike.
Benefits of running high or maximum tire pressure:
- maximizes payload capabilities
- longer tire life
- improved fuel efficiency
- offers the greatest protection of rims
Drawbacks of running high or maximum tire pressure:
- narrower contact patch
- reduced traction potential
Benefits of running lower or minimum tire pressure:
- wider contact patch
- improves traction potential
Drawbacks of running low or minimum tire pressure:
- reduces payload capabilities
- shortens tire life
- reduces fuel efficiency
- rims can be susceptible to damage
- if tire pressure is too low, there can be a chance of the sidewall rolling off the rim
Industry-accepted off-road tire pressure recommendations
| Category | PSI Pound/Square Inch | Bar | kPa Kilo Pascal |
|---|---|---|---|
| Heavy ADV | 28-30 | 1.93-2.07 | 193-207 |
| Medium ADV | 25-28 | 1.72-1.93 | 172-193 |
| Dual Sport | 15-22 | 1.03-1.52 | 103-152 |
| Dirt Bike | 10-15 | .689-1.03 | 68.9-103 |
The chart above provides the ideal starting point for your quest to find the perfect off-road tire pressure. Experiment with different pressures in differing terrains, and you will soon discover what feels best to you.
On journeys with 50/50 tarmac/off-road, choose a tire pressure setting somewhere between your manufacturer’s on-road recommendation and your preferred off-road pressure. Ensure this compromise will protect your rims and tires when combining at-speed on-road riding with rocky off-road sections.
Test out tire pressure options during your practice sessions. We have a post offering numerous drills to practice ADV motorcycle balance drills here. Try these drills at different pressure settings to start to get a feel of the differences.
About the Author
Coach Mike is a Certified Off-Road Motorcycle Instructor & founder of ADVMotoSkillZ.
Riding tips from ADVMotoSkillZ reach thousands of international riders daily through social & blogs.
Click here to learn more about Mike’s motorcycle evolution from a Harley road rider to finding his true passion for off-road riding on a BMW 1200 GS.
If you would like to send Mike a quick message or invite him to provide training at your local facility, then visit the contact page here.

